One of the essential tools when painting a room is painter’s tape. Whether you’re creating a unique design or protecting your light switches from a rogue paint splash, you’ll need painter’s tape to create clean results. While it may seem as easy as it sounds, there are simple tips you can do to make your project look as professional as possible. Proper painter’s tape use can make all of the difference for your Reno interior design projects.
In our article, our Reno Design Center experts go into detail how to prepare a project for painter’s tape, how to apply it, and removing. For all your painting products, visit Reno Paint Mart today.
Painter’s Tape vs. Masking Tape
When shopping for paint supplies, you might be overwhelmed by the choices that are offered. Painter’s tape, masking tape, artist’s tape, and drafting tape – are they interchangeable? While both look similar, painter’s tape and masking tape are distinctly different. Masking tape should not be used as a replacement for painter’s tape. If used, masking tape may not peel off correctly, either leaving bits on the wall or ripping off paint. Painter’s tape and drafting may also look like painter’s tape. Unfortunately, these tapes have weak adhesion which may lead to paint seeping underneath.
How to Use Painter’s Tape According to Reno Paint Mart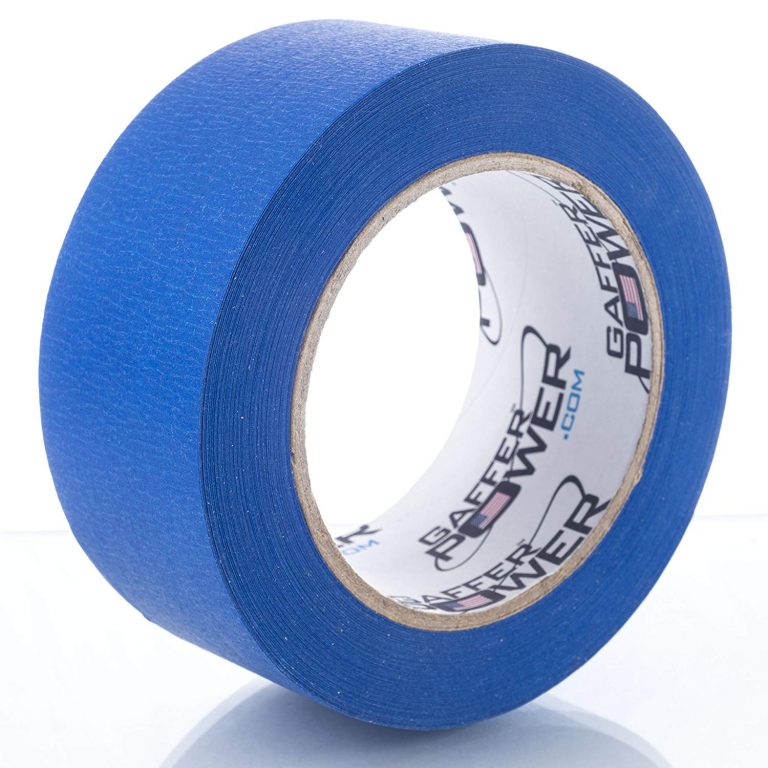
Prep
- Remove unwanted objects: It’s important to first prepare your space before using painting tape. Ensuring these steps are taking will give you a more professional result. Before getting started, first remove anything in the room that you don’t want to get paint on or get in the way.
- Clean the surface: You also want to ensure that your surface is clean enough to achieve a good adhesion with your painting tape. Use a combination of soap and water with a sponge to clean your walls of dirt and dust. You can also run a vacuum to remove cobwebs and dust from crevices.
Applying
- Applying painter’s tape: Choose a tape with a width suited for your project. Use wide painter’s tape when covering light switches and outlets. For walls, edges, baseboards, and frames, use strips of tape that are a couple of feet long. Overlap strips several inches to prevent any paint from sneaking under.
- Use a painter’s tape applicator (optional): You can use a painter’s tape applicator to quickly apply tape to molding without any air pockets. It can be a useful tool for straight edges.
- Press down the edges: Run a putty knife or some kind of straight edge along the tape to seal the edges of the tape into corners of the wall. Run your tool towards yourself at a slight tilt, not away, to avoid tearing the tape.
- Dealing with corners: For corners, overlap tape on both sides, an inch or two longer than needed. With a putty knife or box cutter, press the tape down in the corner and cut.
Removing
- When to remove painter’s tape: Removing the painting tape at the right time can be a bit tricky. Peel off tape too early and wet paint might drip and bleed. Wait too long, and the dried paint on the tape might tear off paint on the section you just painted. The optimum time to remove painting tape is around an hour. At this point, the paint should feel relatively tacky to touch.
- How to remove painting tape: Carefully peel back the painting tape, making sure to hold it at roughly a 45-degree angle.
Visit Reno Paint Mart today
Now’s the time to start your Reno interior design and exterior design project with painter’s tape. Visit Reno Paint Mart today for all your paint and paint supply needs. We have locations in Reno, Carson City, and Truckee. If you need any tips for your projects, get speak with our design experts at the Reno Design Center. For more information on our products, contact us today.