Wood staining is done for several reasons; to add color and aesthetic appeal to the wood as well as provide protection. New decks should be stained right away to prevent wood damage and sustain the deck for as long as possible. Typically, existing decks require a fresh coat of wood stain every 2-3 years depending on the wear it has experienced.
If you’ve noticed your deck could use some TLC and are curious about how to stain your deck then you’ve come to the right place. Here’s our guide detailing exactly how to stain wood, including the proper staining methods, staining supplies, and other helpful tricks.
 Wood Staining Supplies
First thing’s first, in order to stain wood, you need the proper staining supplies. The materials you’ll need to get a wood staining project like this done correctly include a paint roller, paintbrush, airless paint sprayer, sandpaper, and the wood stain of your choice.
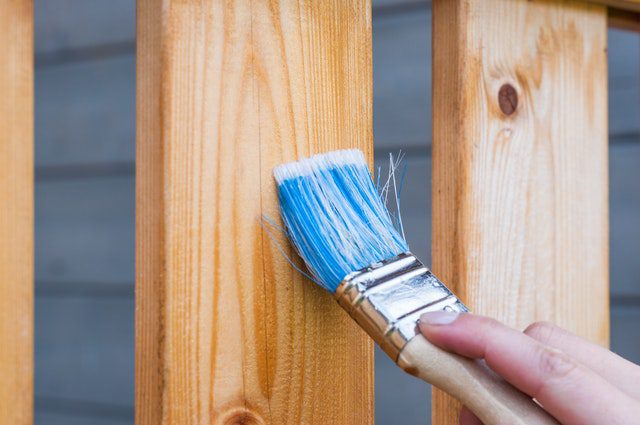
Paint Brush
A large synthetic, nylon, or polyester paint brush is a great tool for staining wood as it allows the stain to seep deep into the wood’s pores. Part of the reason the paintbrush is superior for staining wood is due to the back and forth motion that creates agitation allowing the wood to absorb more of the stain. Paint brushes also give you greater control over how much product you’re using, making it easier to apply thinner coats. A paintbrush will especially come in handy when you’re trying to stain those hard-to-reach surface areas like in between wood boards and stairs.
Airless or Pump Sprayer
Using an airless or pump sprayer is the simplest way to apply wood stain to your deck. Next to paint brushes, this is one of the preferred methods of wood staining because it’s quick.
Paint Roller
Paint rollers can also be used to spread wood stains. While they deliver the smoothest application, rollers aren’t considered the best wood staining method as they tend to push the excess stain in between the cracks of the wood which results in wasted product. It’s recommended that you use a paint roller with a ¼ inch nap made from foam or polystyrene fibers that are perfect for staining wood.
Sandpaper
Sandpaper is needed to ensure your wood surface is smooth so that the stain can be applied efficiently. We recommend using 60 or 80 grit sandpaper for the smoothest finish.
Some additional supplies that you’ll want to purchase to ensure the best end results include:
- Rubber gloves
- Rags/drop cloths
- Outdoor broom
- Deck cleaner
- Garden hose or power washer
- Painters tape
- Stiff-bristled brush
How to Stain Your Deck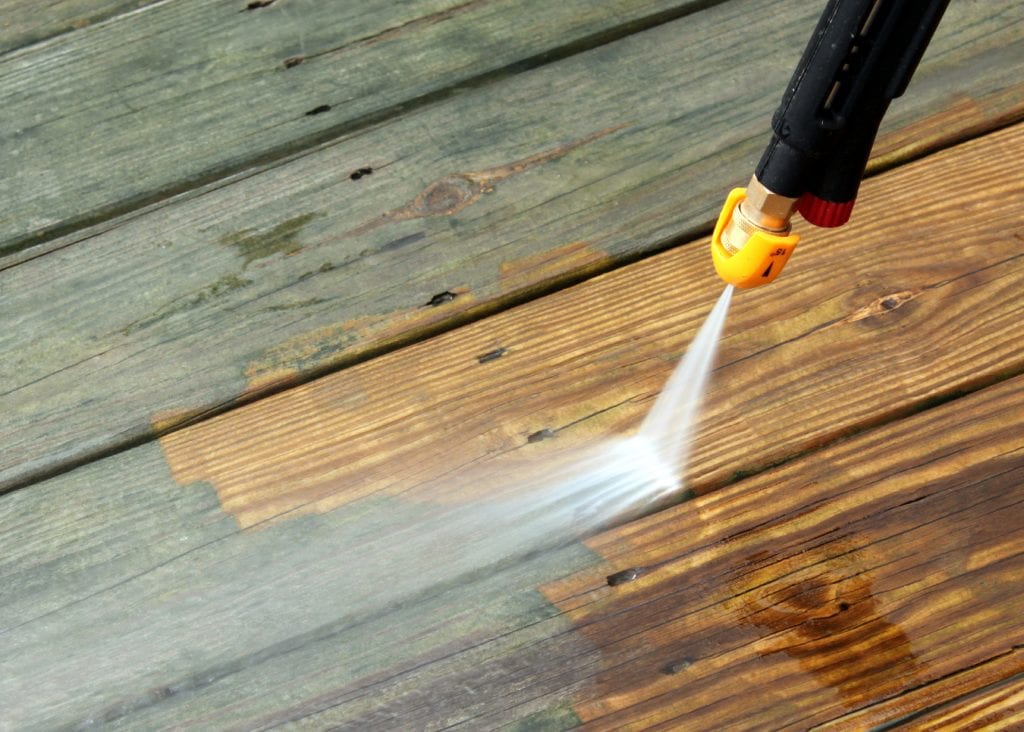
Your deck sees a lot of wear and tear due to constant foot traffic and varying weather conditions. Below is a step-by-step guide on how to stain your deck so you can revive it back to its prime:
#1 Timing and Planning Are Key
Before you go clearing off your deck and preparing it for staining, make sure that the weather conditions are decent. The ideal weather for staining your wood deck would be bright, sunny, and warm (but not too hot). So long as it is not raining, snowing, or freezing outside, you should be okay to start your project. Also, be wary of wind as it can blow dirt and debris all over your wet stain and ruin your hard work.
#2 Clear Off Your Deck
Before you can begin staining your deck, you need to clear it of all patio furniture, potted plants, outdoor tools, debris, and anything else that may be stored on the deck. Once all of your belongings have been removed, you should then begin prepping the deck for staining.
#3 Prep the Deck for Staining
To prepare your deck for wood staining, start by inspecting the entire surface for wood damage, broken or exposed nails and screws, and structural damage. Replace the damaged or missing nails to ensure the structure is stable and replace wood planks that may pose some danger. Once these issues have been remedied, you can move on to the next steps.
#4 Sand the Deck
Now that the deck is free of damage, it’s time to sand down rough areas of the wood and any areas that have mill glaze on top. Mill glaze is a result of sawed wood that has been compressed and exposed to high temperatures that melt various aspects of the wood and prevent stains from getting into the pores. This will make it extremely difficult to get the results you desire. Using a belt or orbital sander with 60 or 80 grit sandpaper, begin to sand down any spots on the deck that are not smooth.
#5 Cleaning the Deck
Cleaning your deck is vital to the wood staining process as it will allow the stain to be absorbed thoroughly into the wood. Use a broom to sweep away any dirt, leaves, or garbage and follow it up with a wood cleaner. After scrubbing the wood cleaner into the surface using a stiff brush you need to rinse the deck using a garden hose or pressure washer and allow it to fully dry.
#6 Follow The Instructions on Your Can of Stain
Cans of stain are great because they include instructions on how to properly apply the stain, how many coats are needed, and more all right there on the label. Be sure to read through this prior to getting out your paintbrush and throwing wood stain on your deck.
 #7 Begin Staining the Deck
You’ve got your supplies, you’ve prepped the wood, you’ve read the instructions, and now it’s time to finally get to staining the deck. Using your paintbrush, apply thin coats of wood stain to the entire deck in back and forth motions going with and against the grain of the wood for the best coverage. Allow the wood to dry completely before adding any additional coats of stain to the wood. Remember, over-application will likely stall the drying process, so keep in mind that less is more when staining.
#8 Maintenance and Upkeep
Now that your wood stain application is complete, all that’s left to do is keep up with your deck’s maintenance routine. We recommend cleaning your deck every few months to applying a wood brightener to maintain its look. avoid build-up of dirt and leaves. Additionally, make sure to shovel your deck when it snows, as it can cause damage in the long term. Regular inspection of your deck is a good practice to ensure there are no weak spots on the deck and to increase the longevity of it.