Are you tired of looking at the same old wood furniture in your home? Do you want to add a fresh look to your pieces without breaking the bank? Look no further than wood staining! We’ve seen the transformational power of a good stain job on tired, outdated furniture. Read on to find out about the process of how to wood stain your furniture and get some tips and tricks to make it look like a professional job.
First things first, what is wood staining? Essentially, it’s the process of applying a colored liquid to wood to change its appearance. Stains come in a variety of colors, from light oak to dark walnut, and can even be mixed to create a custom shade. Not only does staining give your furniture a new look, but it also protects the wood from damage, such as scratches and water stains.
So, let’s get started on how to stain wood furniture!
Step 1: Prepare the Surface
Skip step 1, wipe down your furniture with a damp cloth and jump to step 2 if your furniture is already unfinished.
Preparing the surface of your furniture is critical to ensure that the stain adheres evenly and gives you the best possible result. Start by removing any existing finish or paint from the furniture. Sanding the furniture with a medium-grit sandpaper will remove any roughness or blemishes on the surface and ensure that the stain is absorbed evenly. If there are any blemishes or cracks in the wood, use wood filler to smooth them out, and let it dry before sanding again. After sanding, wipe the furniture with a damp cloth to remove any dust or debris.
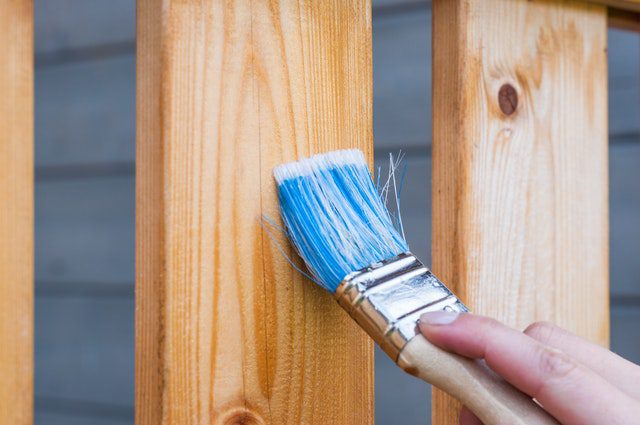
Step 2: Apply the Stain
Once you’ve stripped the surface of your furniture and cleaned it up, you’re ready to start staining wood! Before starting, ensure that you’re working in a well-ventilated area, as some stains can be harmful if inhaled or ingested. Choose a brush, roller, or rag to apply the stain, depending on your preference. However, using a brush is recommended for the most even coverage. Apply the stain in the direction of the grain, working with small sections at a time. Make sure to coat the entire surface evenly and avoid leaving any drips or puddles of stain. Remember to wear gloves to protect your hands from staining.
Step 3: Wipe Off Excess
After applying the stain, use a clean rag to wipe off any excess and ensure that the stain is absorbed evenly. This step is crucial to avoid streaks or blotches in the final product. Be sure to wipe the furniture in the direction of the grain and use a light touch to avoid removing too much stain. You can also use a dry brush to blend the stain further and remove any excess.
Step 4: Finish and Protect
After the stain has dried for at least 24 hours, it’s time to finish and protect the wood. Apply a coat of polyurethane or another protective finish to seal in the stain and protect the wood from damage. Be sure to follow the manufacturer’s instructions on the product you choose and let it dry completely before using the furniture. Staining wood can be done with a matte, satin, or glossy finish depending on your preference. A matte finish will provide a more natural look, while a glossy finish will give a more polished and modern look to your furniture.
And there you have it, how to wood stain your furniture like a pro! By doing it yourself, you save some money and you can transform your old furniture into beautiful customized pieces that you’ll love!
If you’re feeling hesitant about tackling this project on your own, remember that practice makes perfect! Start with a smaller piece of furniture to get the hang of the process before moving on to larger pieces. And if it’s still feeling a little too daunting, come by Reno Paint Mart and we will be more than happy to steer you in the right direction!
So, what are you waiting for? Get out there and start wood staining! Your furniture will thank you for it.
Staining wood furniture is a fun and cost-effective way to give your pieces a new life. Follow these steps on how to stain wood furniture, and you’ll be a pro in no time. Don’t forget to protect yourself and your work area, and have fun with it! Whether you’re staining a small side table or a large dresser, the transformation will be worth it. So, go forth and create a beautiful home with your newly stained furniture!
Get Your Paint Supplies from Reno Paint Mart
Reno Paint Mart has all the paint and wood staining materials you’ll need. Visit one of our locations – Reno, Carson City, and Truckee – today to get started on your next project! We also offer helpful advice and tips from design professionals, just ask to speak with one of our design experts at the Reno Design Center.
Connect with us today to learn more about our products and services!