Interior Paints
Flat Finish Paint
Flat finishes are only available in latex paints. They’re very opaque and provide a sophisticated look that allows the color to truly pop. Flat finish paints also hide many imperfections that may otherwise be visible because they don’t directly reflect light off of them. While this finish does make imperfections less noticeable, they do not clean well and are not recommended for use in high-trafficked rooms or rooms that tend to get dirty easily. They do work great on ceilings, accent walls, and any low-traffic interior walls such as an adult’s bedroom.
Eggshell Finish Paint
Eggshell finishes have slightly more luster than flat finishes, but are not considered shiny. Eggshell finish paint resists stains better than flat and can be cleaned using a wet rag. This type of paint is best used in areas such as a living room or family room, or other areas of your home that are less prone to getting dirty.
Satin Finish Paint
Satin finishes are the most popular paint sheen. A step above eggshell, satin finish has more sheen or shine to it, and cleans a lot better than flat or eggshell finishes. This type of paint is used in the majority of high-traffic areas of your home such as hallways, bedrooms and dining rooms. It’s also effectively used on woodwork and doors. Satin finish is washable, but shouldn’t be scrubbed in a rough manner.
Semi-Gloss Finish Paint
Semi-gloss finishes are commonly used in rooms with lots of moisture or drips such as bathrooms, kitchens, and laundry rooms. They help give your room a subtle shine and are highly durable making them easy to clean. You can also use semi-gloss finish paints on things such as kid’s play tables and play rooms along with moldings, doors, and around windows.
High-Gloss Finish Paint
High-gloss finishes have a very shiny look. They are almost completely stain resistant and are extremely easy to clean. Its durability makes it perfect for areas of your home with heavy wear and tear, such as kitchens or bathrooms. High-gloss finish is also commonly used on doors, cabinets, and trim.
INTERIOR PAINT: EASY AS 1-2-3
Planning an interior paint project can bring out the creativity in anyone, but where do you even begin? If you’re an inexperienced painter, the multitude of options can overwhelm the basics. When it comes to painting the interior of a room, it’s as easy as 1-2-3.


1) Prep
The key to any successful Reno interior design paint project is to prep the room. Prepping can make a noticeable difference in the resulting quality of your work, and can help diminish any problems that may arise.
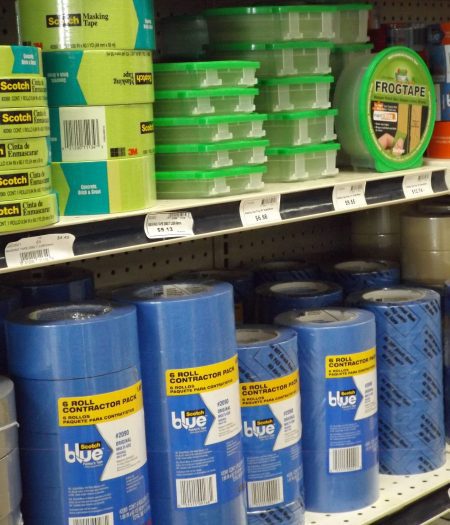
The first step in prepping is to mask, using painter’s tape, all baseboards, edges, and other areas you don’t want to be painted. While masking isn’t the most difficult step, it is important to take your time making sure the tape is flush with all edges.
Next, remove or cover any hardware that couldn’t be masked. By removing light switch and outlet faceplates, doorknobs, and light fixtures you can eliminate the risk of dripping any paint on these pieces of hardware.
Move furniture away from walls into the center, or outside of the room. After doing this, place a canvas or plastic covering on the ground to prevent permanent stains on your flooring. If your furniture is moved to the middle of the room, it’s still a good idea to cover them with the same canvas or plastic covering you placed on the floor.
Once everything is protected, fill in any holes and smooth out any rough patches using spackle. Caulking corners is recommended before painting because it helps control the corner edges from the ceiling. It’s also wise to use a dry sponge to brush the walls, removing any dust that may be on the surface.


2) Prime
Laying down a layer of primer is always a good idea. Not only does it boost the color of your new paint, but it also helps prevent the old color from seeping through. This is a particularly important step for those going from a darker to a lighter color, as it will act as a barrier between the two colors. Primers can also be mixed to be a similar shade of your paint color, and this will lessen the number of coats needed. Our Reno interior design experts will help you choose the right primers for your job. Give us a call!
After applying the primer, it’s time to “cut in”. This is when you use a paintbrush to paint around all edges using your paint color of choice. This is an important step as it adds a professional finish to all your edges; be sure to take your time and use a steady hand. By cutting in you not only speed up the rest of the painting process but it also adds a touch of precision that can’t be achieved with a paint roller.
3) Paint
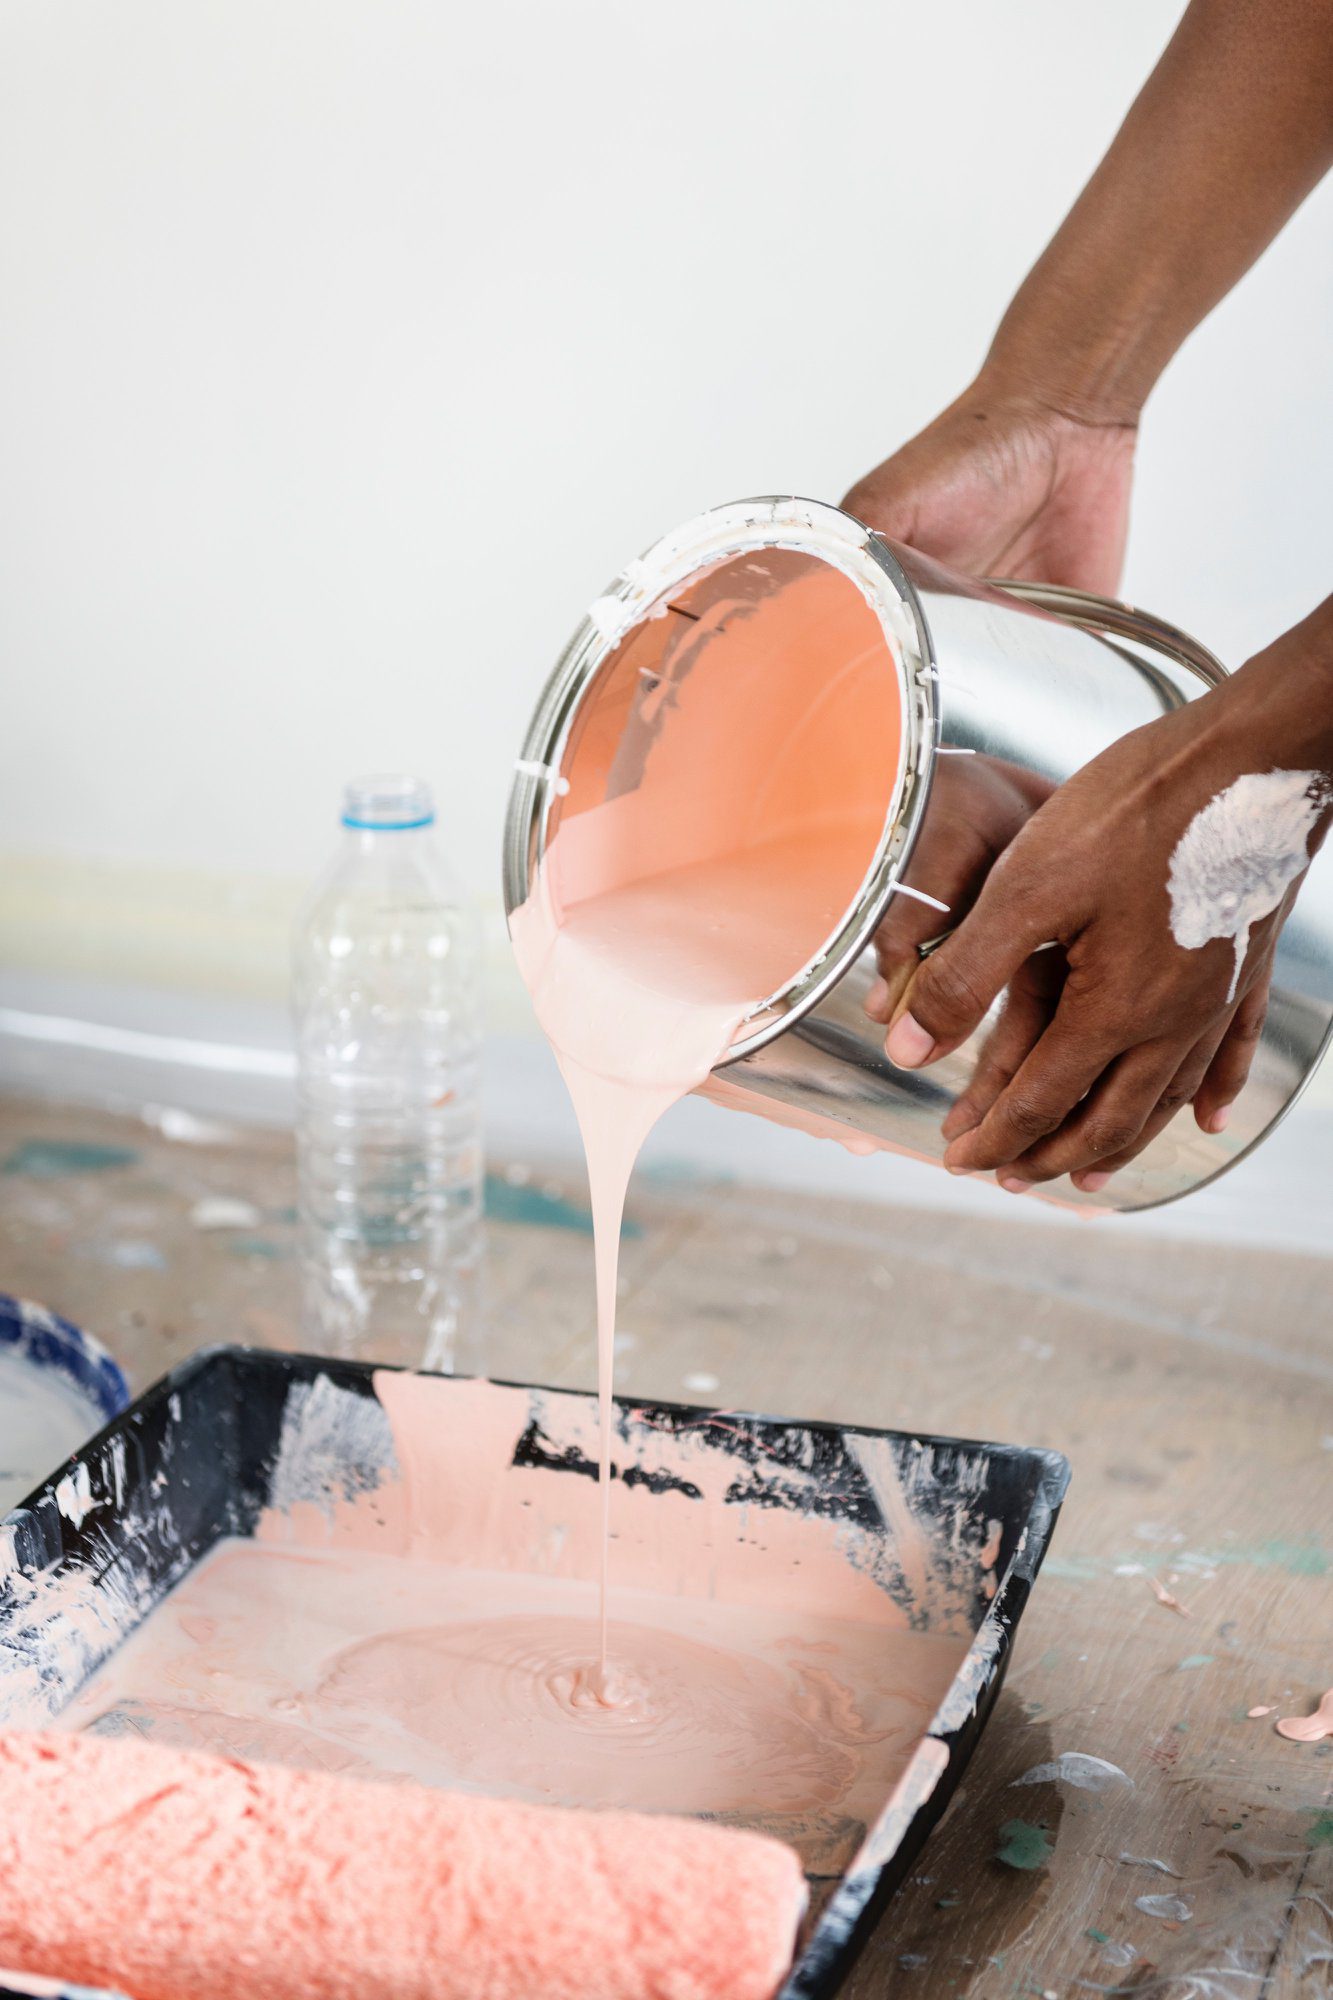
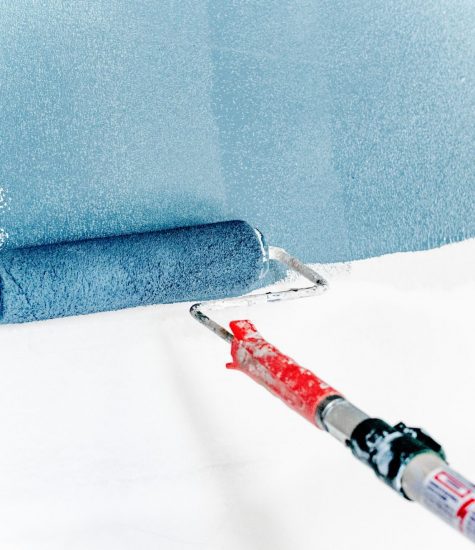
As you begin painting, be sure to mix your paint properly using a mixing tool to ensure the color you’re working with is correct. You can paint using a brush or a roller, but for more coverage with each stroke, a roller is recommended. Most people use a paint tray for use with a roller, but there are other options such as a paint grid, which can be placed inside a bucket. For a technique when painting, apply in a “W”, “V”, or “N” formation. This not only lets you get through the painting quicker, but also guarantees fuller coverage. It’s also important to keep a “wet edge” while you paint so that you maintain a uniform look throughout the room. This essentially means to paint one section at a time, only building upon paint that is still wet. We can help you find the right color for your room! Schedule your free Reno interior design consultation for assistance in finding the right color, sheen, and brand of paint to make your dream room a reality.

